
Easily setup the email auto responder in Plesk panel for emails. Our Plesk Support team is ready to assist you.
Setup the Email Auto Responder in Plesk Panel
An autoresponder automatically replies to incoming emails, keeping communication smooth even when you’re unavailable. It notifies colleagues and external contacts of your absence, helps manage expectations, and maintains professionalism. This guide provides step-by-step instructions for setting it up, so keep reading to learn how to configure it effectively.
What is Autoresponder?
Autoresponders, which are frequently used for “out-of-office” messages, automatically send a prewritten response to incoming emails in SmarterMail. The message can be personalized, the recipient can be selected, and responses can be restricted to one per sender per day. It facilitates communication when you’re on vacation or unavailable.
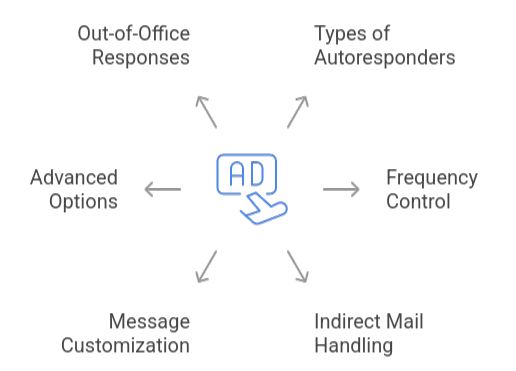
Key Features of Autoresponder
- Types of Autoresponders: For more flexible communication, send distinct responses to external contacts and domain users.
- Frequency Control: To avoid repetitive messages, each sender only gets one automated response every day.
- Indirect Mail Handling: Autoresponders by default do not respond to aliases, mailing lists, or forwarded emails.
- Message Customization: Configure the autoresponder’s title, body, and optional start and end dates.
- Advanced Options: Modify behavior by excluding particular emails and permitting or prohibiting particular domains.
- Out-of-Office Responses: Notify senders of your absence and, if necessary, supply alternate contact information.
Types of Autoresponders in SmarterMail
To effectively manage your email responses, SmarterMail offers two different kinds of autoresponders: Domain Users and Everyone Else.
- Domain Users: This autoresponder automatically responds to coworkers in your company. It’s ideal for internal communication, like informing coworkers that you’re available for essential concerns even while you’re not in the office.
- Everyone else: External contacts receive automated responses from this option. Utilize it to notify partners or clients of your absence, updated contact information, or anticipated response times. You can retain professionalism, keep internal and external contacts updated, and make sure no one is left waiting for a response by utilizing these two methods.
Prerequisites
- Installation of SmarterMail: A licensed copy of SmarterMail 9.x or later is required.
- Webmail Access: To set up autoresponders, sign into your SmarterMail account.
- Browser Compatibility: Compatible with Chrome, Firefox, Edge, and Safari, among other contemporary browsers.
For more tips, check out our expert guide on using Plesk Migration Manager for smooth website migration.
Autoresponder Settings in SmarterMail
Here are the steps to enable autoresponder in Smartermai.
- Log in and open Settings: Click the Settings (gear) button after logging into your SmarterMail account in a web browser.
- Visit Autoresponder: Choose Autoresponder from “My Settings,” then select Enable Autoresponder.
- Write your message: Type your automated response’s subject and body.
- Configure and save: Define start and finish dates, restrict replies to one per sender, and turn off indirect mail responses as options. To activate, click Save.
How to Set-Up Automatic Replies in Plesk
- Step 1: Enter your login credentials to receive access to the Plesk control panel.
- Step 2: Choose the email account you wish to configure by going to Mail or Email Addresses.
- Step 3: Select the Auto-reply tab, select Turn auto-reply on, and then type your message. You can specify how frequently replies are sent each day, attach files, forward the original email, and select between plain text and HTML.
- Step 4: To automatically enable or disable the auto-reply, you can optionally choose a start and end date. Click OK to preserve your choices.
For related tips, check out our expert guide on configuring max_allowed_packet in Plesk.
How to Disable Automatic Replies in Plesk
- Step 1: Open Plesk, choose the email address by going to Domains, then Mail, and finally your domain name.
- Step 2: Choose the Auto-Reply tab after clicking on the email address.
- Step 3: Use the command line or uncheck the box to enable auto-reply:
If using command line, then run,
plesk bin autoresponder --update -mail johndoe@example.com -status falseClick OK or Apply to save changes.
Step-by-step guide for handling Plesk backups via command line.
[Need assistance with a different issue? Our team is available 24/7.]
Conclusion
By automatically sending customized responses while you’re not accessible, setting up an email auto responder in Plesk panel facilitates efficient email management. You may customize the content, recipients, and scheduling, avoid repetitive communications, and stay in touch with both internal and external connections. This ensures prompt, professional communication at all times.
In brief, our Support Experts demonstrated how to fix the “554 5.7.1 : Relay access denied” error.
Leave a Reply